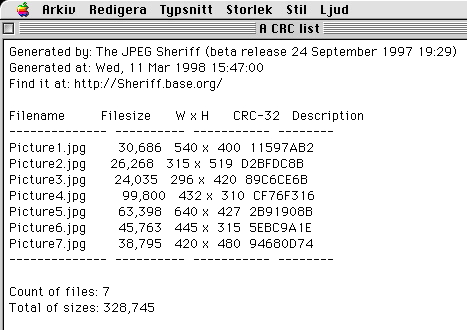
Figure 1 ( A standard JPEG Sherrif list viewed
with Simple Text.)
Verifyer 1.1.2b uses standard JPEG Sheriff CRC lists.
These lists are plain text files which can be viewed and edited in
any text editor.
Figure 1 ( A standard JPEG Sherrif list viewed
with Simple Text.)
To start the program just double click on its icon. You will be presented
two windows, the Main window and the Selected folders window. The Main
window presents the contents of the CRC lists currently in use and the
current verification result. The Selected folders window displays the folders
currently selected. The JPEG files inside the folders you have selected
will be verifyed the next time you choose Verify from the Verify menu.
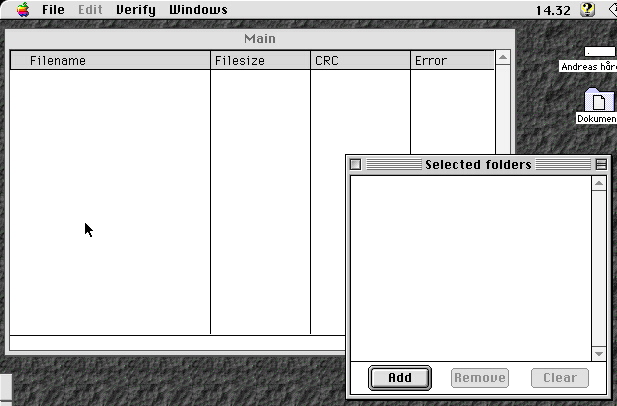
Figure 2 (This is what it looks like when you
start the program.)
First you have to select one or more CRC- lists to use. Choose Select
CRC-list from the File menu.
You will be presented a standard get file dialog box asking you to
select a CRC- list. Select the list you want to read and click OK. The
list is now displayed in the Main window. In the Error column all files
are initially marked as Missing. If you select more than one CRC-list
the new list will be appended at the end of the previous one.
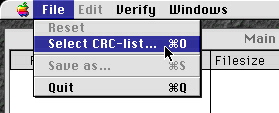
Figure 3 (Select a CRC list.)
Now you have to select which folders to include in the verification
process. Activate the Selected folders window and click the Add button.
A dialog box asking you to select a directory is shown. Select a
folder containing some or all of the JPEG files you want to verify against
the CRC-list(s) you previously selected, and that is displayed in the Main
window. Repeat this until you have selected all folders you want to include.
You don't need do select any subfolders as Verifyer scans through all subfolders
of each selected folder.
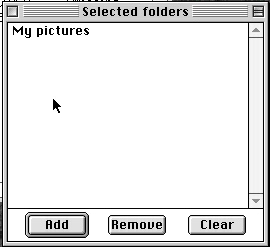
Figure 4 (The Selected folders window with a
selected folder.)
You are now ready to select Verify from the Verify menu. When you do
this all JPEG files in the selected folders and their subfolders are evaluated
against the information in the CRC-list.
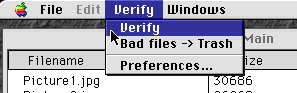
Figure 5 (Select Verify.)
The result of the verification process is displayed in the Main window.
The files that didn't pass the test are now displayed in red, the ones
that did pass the test are displayed in green. Files that are in
the CRC list but not in the scanned folders are still marked Missing.

Figure 6 (The verification result.)
The result of a verification round remains in memory and in the Main window until Reset is selected from the File menu. This means you can read in a quite big CRC-list, select folders containing only a part of the files in the CRC-list and verify these files. Then you can remove the old folders from the folder list, select some new ones and start a new verification process. The files in the list that aren't in the newly selected folders will not be marked as Missing since the Missing mark is set only when the CRC-list is read into memory and displayed in the Main window. If however a file with the same name as a file previously marked as Size error, CRC-error,Good or Not checked is encounterd in the new verification round it will be remarked according to the new evaluation result.
When all files in the Selected folders have been verifyed, you might
want to get rid of the files that didn't pass the test. To move all bad
files to the trash can select Bad files -> Trash from the Verify menu.
This puts all files marked with Size error or CRC error in the trash can
and the files are re-marked as Missing.
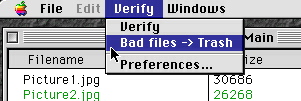
Figure 7 (Throw away bad files.)
You save the information displayed in the Main window to a simple text
file by choosing Save asÉ from the File menu. A standard put file
dialog box appears on the screen. Give the file a name and click
OK. The contents of the saved file depends on the current preferences settings.
Select PreferencesÉ from the Verify menu to display the Preferences
dialog box. Here you can select to include all information displayed in
the Main window when saving to file, or to include just the
filenames. You may also specify which files in the CRC-list to be included
in the file you save. Check the checkboxes to to include respectivley
all files marked Missing, files marked Size error or CRC error, or
files marked Good.
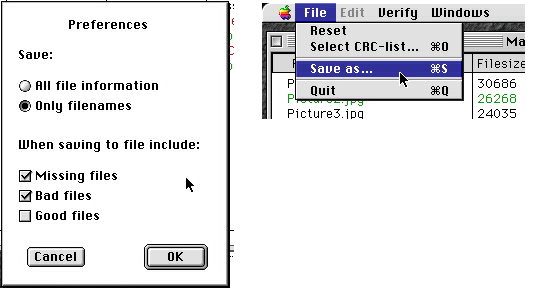
Figure 8 (Save the result to file)
The files created by Verifyer are tab delimited, that is each column
is separated by a tab character. This means Verifyer can't read these files
as CRC-lists, I'm not sure if the Sheriff is capable of reading them.
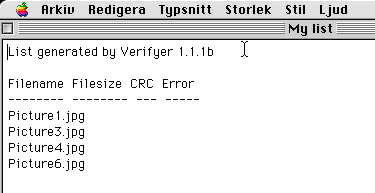
Figure 9 (A list created by Verifyer.)
To clear the Main window and remove all current CRC-lists from memory
select Reset from the File menu. All verification results not saved to
file will be lost when you reset the program. The selected folders list
is unaffected by the Reset command. To clear the list of selected
folders you click the Clear button as described above.
| Home | CRC packages | tools |
|
|
|
|
|
|
|
|